


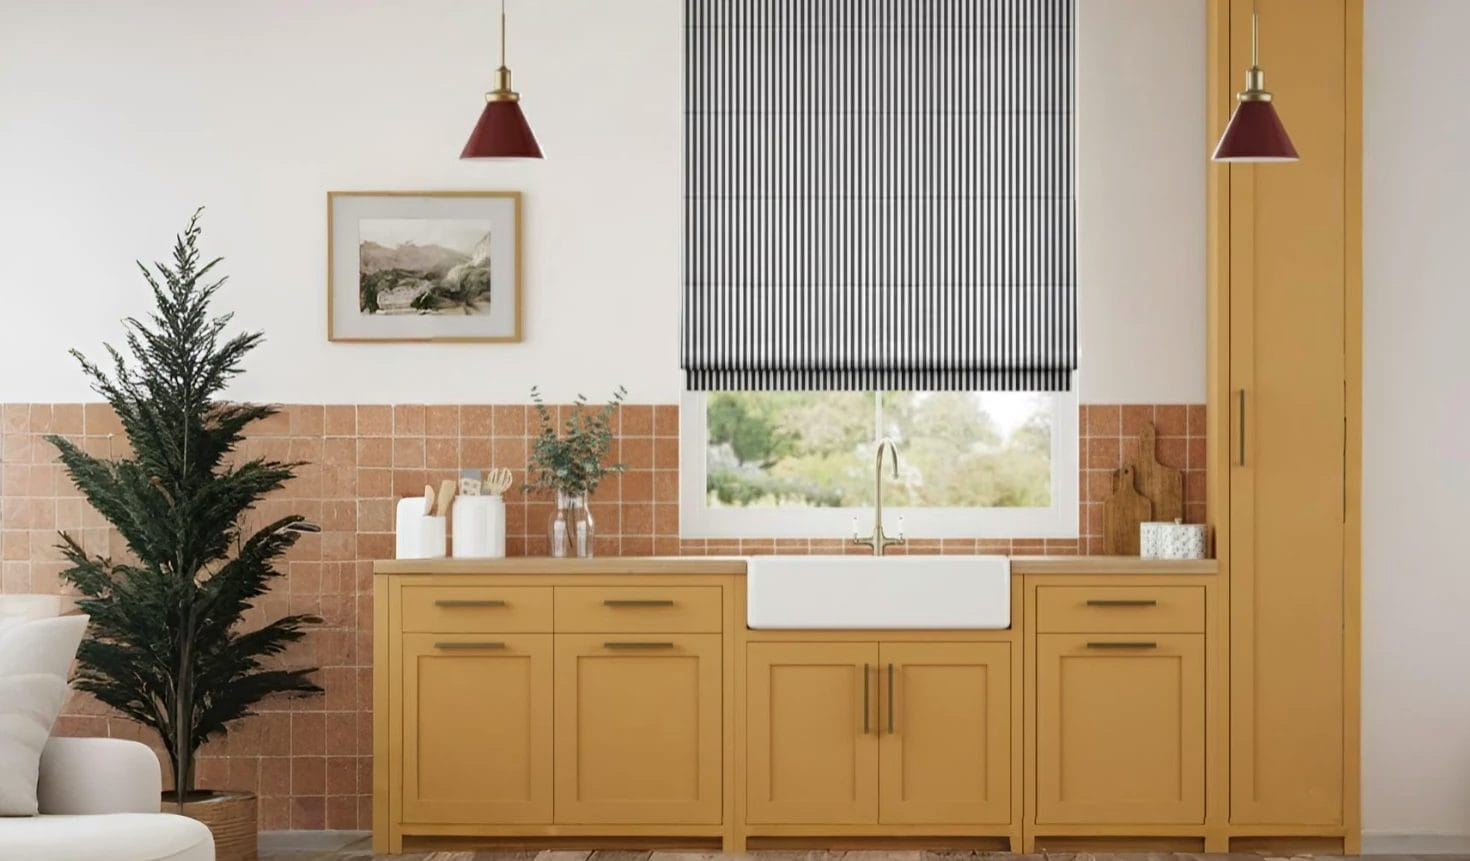
Motorised roman blinds in the kitchen aren’t just convenient, they’re also fun. Playing with the remote control or setting them up to open and close according to your timetable is a boost to your quality of life. Plus, it’s one of the most reliable ways to automate your home.
The purpose of this guide is to explain things like installation, how to set up a hub, and styling. By the end, you should have a far better idea of how to make the most of your motorised blinds in the kitchen and leverage them to improve your space.
Why Choose Motorised Roman Blinds For The Kitchen?
But first, why would you bother choosing motorised Roman blinds for the kitchen? What’s the big appeal?
The most obvious benefit is that they’re hands-free. They open and close on a timetable without any manual intervention from you.
However, the benefits of motorised blinds go beyond convenience. It’s also the fact that you’re less likely to damage the hardware when everything is automated. Manual blind reels and cords are prone to breaking after repeated usage, and if you’re cooking, it’s easy to transfer grease from your hands to the fabric. But this all stops when you install an automated unit.
What’s more, motorised blinds reduce child and pet strangulation risks. Many systems are compliant with recognised safety bodies because there are no cords.
Lastly, you can actually get specialist anti-grease and anti-moisture automated Roman blinds for the kitchen. These stay looking and smelling fresh long-term, even if you’re cooking in there every day.
How To Integrate Roman Blinds Seamlessly Into Your Kitchen
So, how can you integrate Roman blinds seamlessly into your kitchen? Here’s our step-by-step process we recommend to our clients:
Select The Motor Unit And Power Source You Need
Once you decide you want motorised Roman blinds for the kitchen, you need a power source. If the window is a long way from the power supply or in an awkward position, battery-operated systems are the best option. These use Li-ion cells and require charging once every 6 to 12 months, depending on capacity.
The other choice, of course, is to hard-wire the motor unit. We suggest getting an electrician to do this. Make sure they have experience installing automated blind units and the required junction box.
Lastly, you may want to integrate your blinds with a home smart hub, like Z-Wave for HomeKit, Google, or Alexa by Amazon. You can get systems that just operate on a remote control, but these might not be sufficiently convenient.
Measure For Proper Integration
Next, you need to integrate the motor unit with your wall. Generally, there are two ways to do this:
- Inside mount, recessed into the wall
- Outside mount placed on the wall
The inside mount option is sleeker, but also more expensive. You have to create a recess in the wall to house the motor.
The outside mount just requires attaching the unit to the wall (like you would an elevated kitchen cabinet). For this option, you’ll need a 3-inch overlap on either side of the window to provide proper coverage.
We suggest using a laser level to ensure you mount the motor unit level. You also want snap-in brackets if you can find them for the headrail. Visible screws aren’t attractive.
Most units will allow you to conceal all the wiring and so on with relative ease. Just make sure any cabling comes out the rear of the unit and integrates into the wall, like other systems in your kitchen.
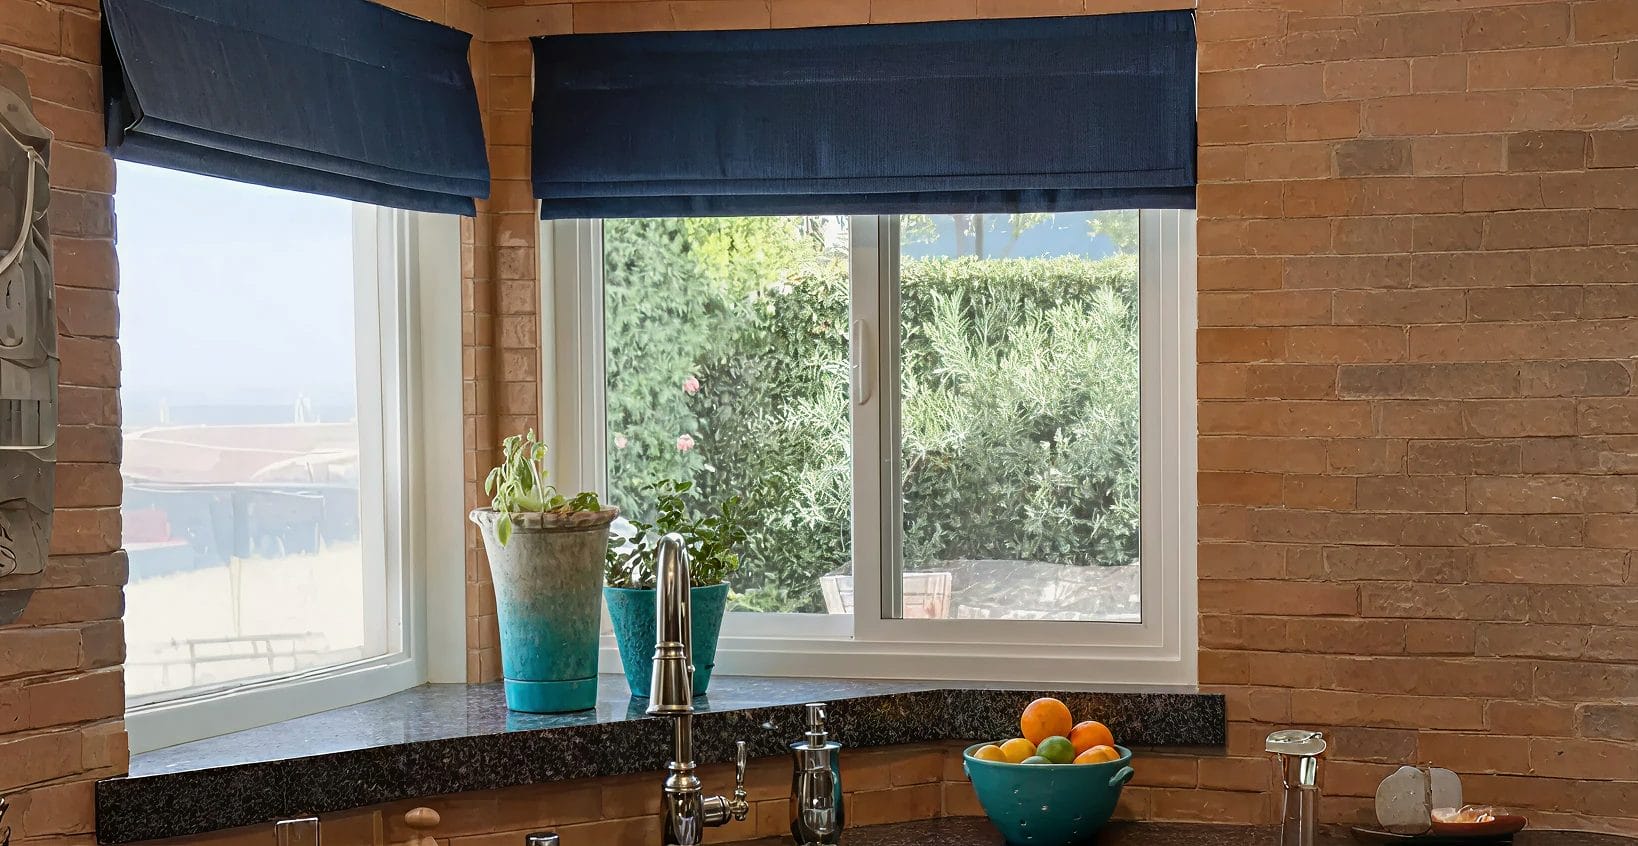
Choose Kitchen-Ready Fabrics
Lastly, you want kitchen-ready fabrics. These are materials that can withstand things like moisture and oil, and don’t require constant cleaning and maintenance.
A lot of homeowners opt for PVC-free polyester. Because it’s made from petrochemicals, it’s mould-resistant, and you can just wipe it clean. We suggest using it above your sink or anywhere close to your oven where there might be moisture.
Another option is to use blackout liners on West-facing windows. These have magnetic edge seals that block light coming into the kitchen when you really don’t want it pouring in during the evening. Again, you can get these in polyester and sometimes nylon.
If you mainly order food or eat at restaurants, then you could opt for cotton blinds. Just be aware that you’ll need to wash these quite frequently, even if you have a powerful extractor fan.
Integrating Your Blinds With Your Home Automation
Setting up your blinds is one thing, but integrating them with your home automation systems automatically makes them more practical. There are no hard and fast rules here, so find a solution that works best for you.
Most people set their blinds to rise with the sun. You can do this on a timer or simply use a sensor to detect light levels (probably the best option).
You can also integrate motorised blinds with systems like Google Home to detect when you’re cooking or washing up. Retracting them 50% balances privacy with fabric protection. Google will actually interpret the command “kitchen privacy” as wanting to raise the blinds halfway.
Lastly, you can arrange for your Roman blinds to auto-close when the sun sets. Just use light sensors to automate this.
Motorised Blind Integration Mistakes
When installing motorised blinds, always ensure you avoid WiFi dead zones. If you don’t, the blinds won’t respond when you give commands via your voice assistant or smartphone.
If you need to, move the router closer to the blind motor unit so they can communicate. If that doesn’t work, consider hardwiring them via Ethernet cables.
Finally, avoid overhanging motors in tight spaces. Ensure they have sufficient clearance with surrounding appliances. Check things like cabinet door openings before installation to prevent them from impinging.
Final Thoughts
Ultimately, motorised Roman blinds are a powerful way to automate your home and make your kitchen space more practical. They reduce effort and improve privacy. If you’re interested, we suggest looking at your options today and seeing how they could improve your lifestyle.